
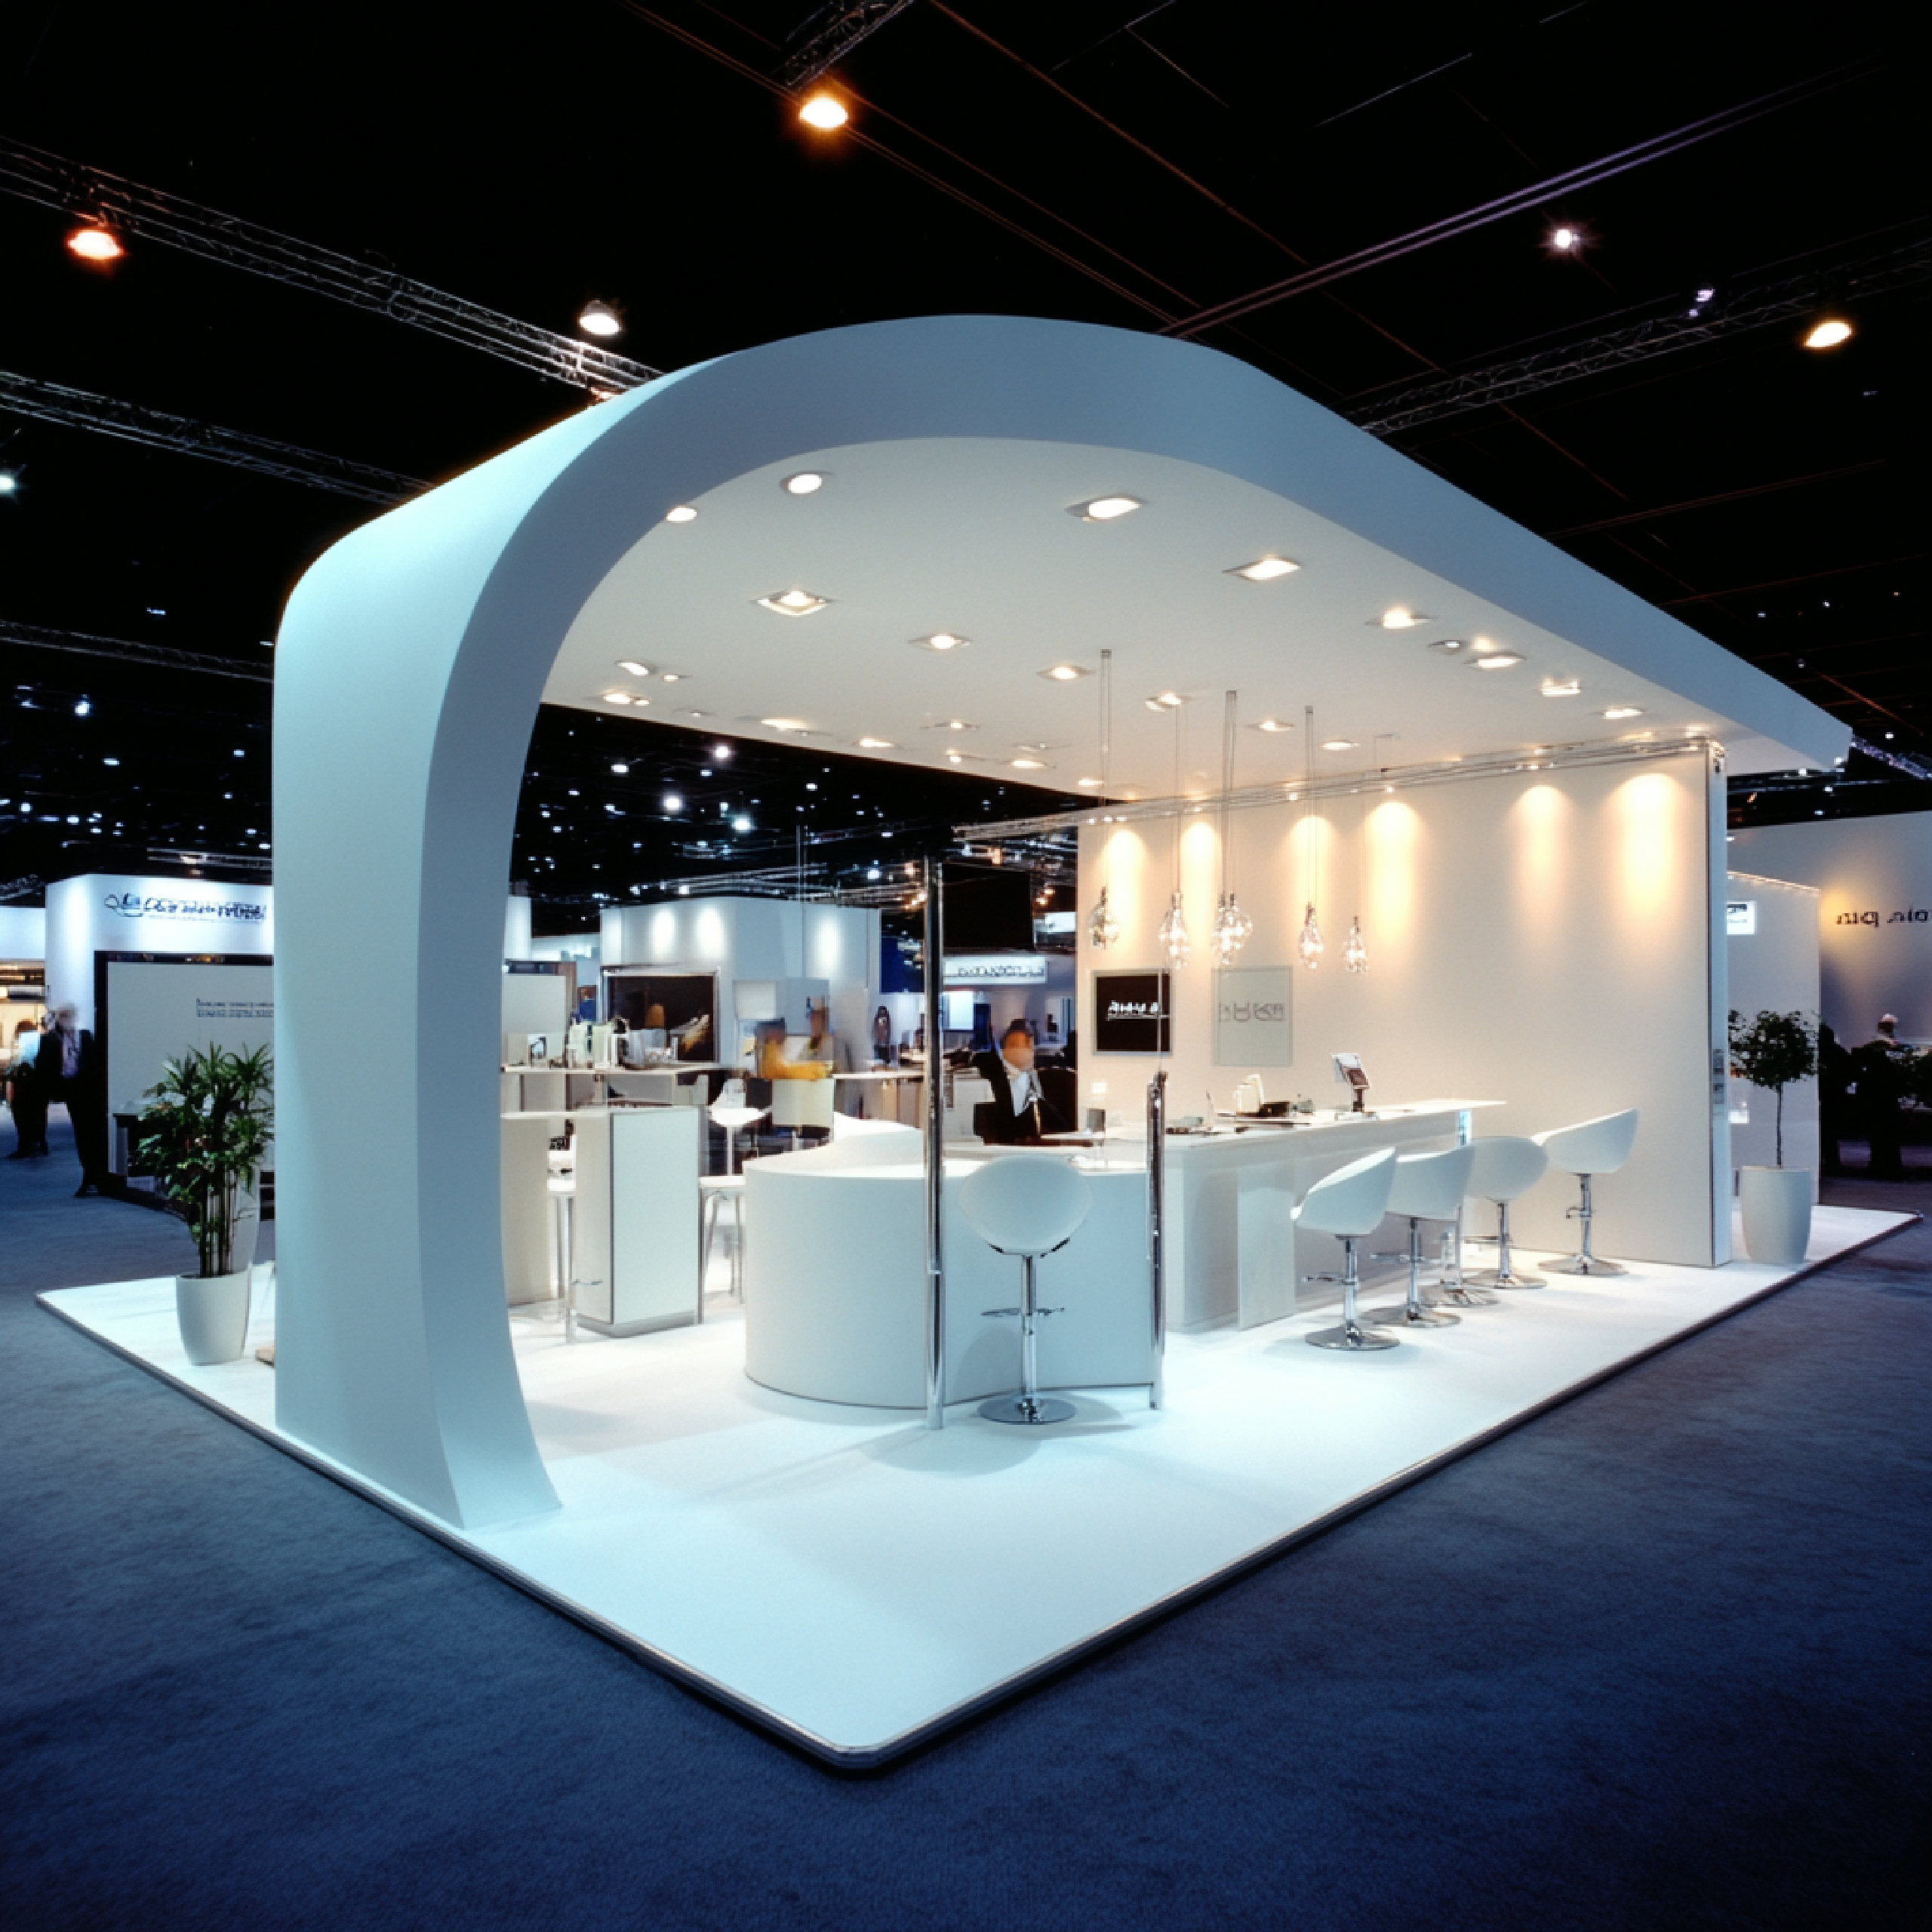
3D Stall Design & Visualisation.
See it before it’s built.
A clear visual plan, from first idea to fabrication.
At AUREXIA Studio, we create detailed 3D exhibition stall designs that help you see your stand clearly before it is built — from the overall structure and branding to furniture, lighting, product displays, meeting areas, and flooring. You understand the design early and make decisions with greater confidence.
A good 3D stall design should not only look attractive on screen. It should represent your brand properly and work in the real exhibition environment — considering space, visitor movement, product placement, storage, seating, branding, lighting, and practical requirements.
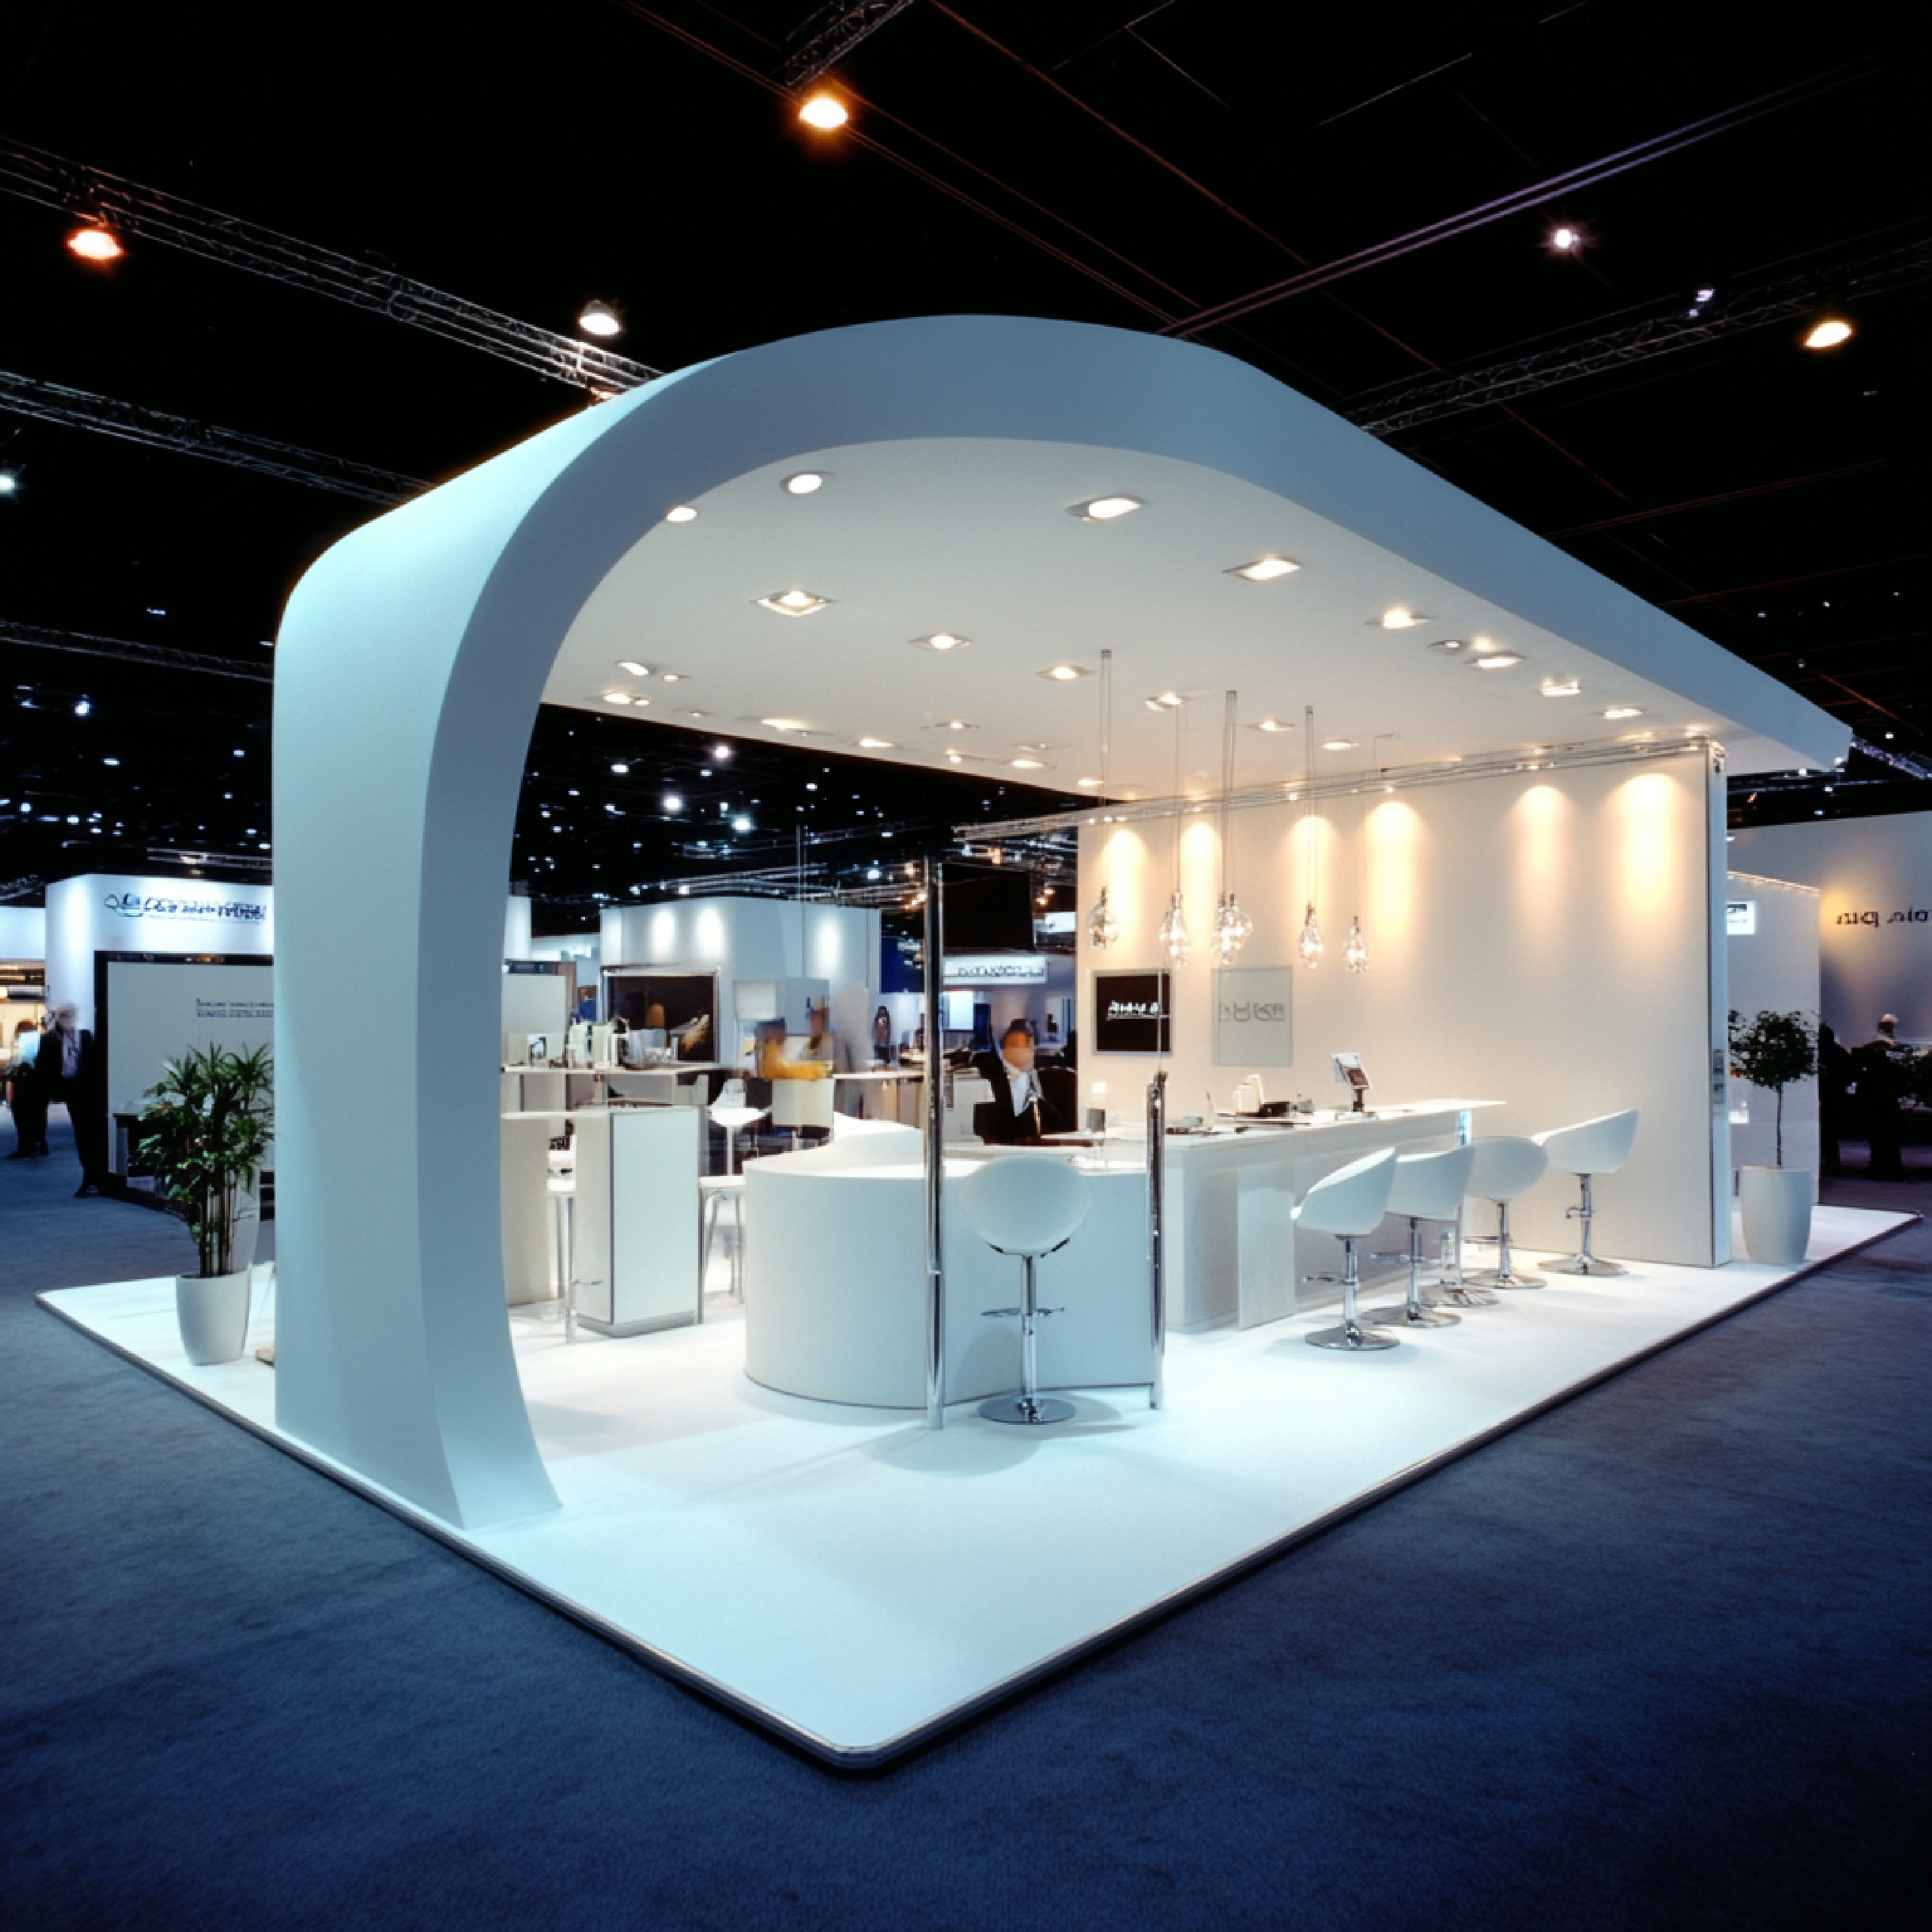
Start with whatever you have.
A brand guideline, a previous stand, a rough sketch, reference images — or simply an idea about the space you need. We take these starting points and develop them into a practical 3D exhibition concept.
Before it is built.
You do not have to imagine the finished stand from a floor plan or technical drawing. If something does not feel right, it is discussed and adjusted during the design stage — not after the stand has been produced.
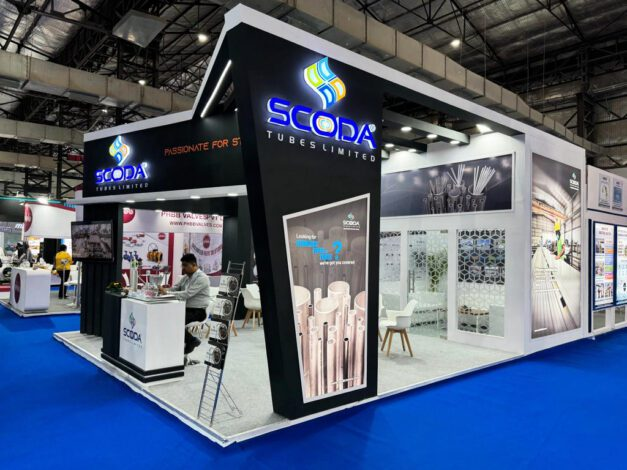

Every detail, considered before production.
We do not simply place your logo and products into a standard layout. Each part of the stand is planned around how visitors approach it — and how your team works inside it.
Designed around your exhibition space.
Size, shape, location, access points, neighbouring stands, venue rules, and visitor flow all affect the final design. We look at how people approach the stand, where they enter, and where your team can speak with visitors — keeping it open and welcoming while providing the private areas you need.
A strong first impression.
Your stand is often the first thing visitors see. We consider the size and position of your logo, key messages, colours, images, and product information — so important information is easy to notice without the stand feeling crowded, even for visitors from different industries and countries.
Exhibition graphics in 3D.
We show where graphics are planned to appear, so you understand how much information can comfortably fit into each area.
Lighting and materials.
Spotlights, LED lighting, lightboxes, illuminated logos, and feature lighting — alongside wood finishes, painted surfaces, fabric graphics, glass, acrylic, metal elements, and textured panels. You understand the complete visual direction before production.
Meeting and hospitality areas.
Open meeting tables, semi-private seating, enclosed meeting rooms, or hospitality areas — visualised within the overall stand so the space never feels too closed or difficult to access.
Product display and demonstration.
Shelves, display counters, product walls, demonstration areas, screens, and sample displays — arranged so products are easy to see, reach, and understand, based on how visitors will interact with your stand.
Practical storage solutions.
Space for brochures, promotional materials, personal belongings, packaging, and samples — incorporated without affecting the appearance, so public areas stay clean and organised throughout the exhibition.
One design everyone can review — wherever they are.
Clients are not always located in the same country as the exhibition. A client based in India may be preparing for a show in Germany, Poland, the UK, or the UAE — and can review the proposed stand visually and discuss changes before fabrication.

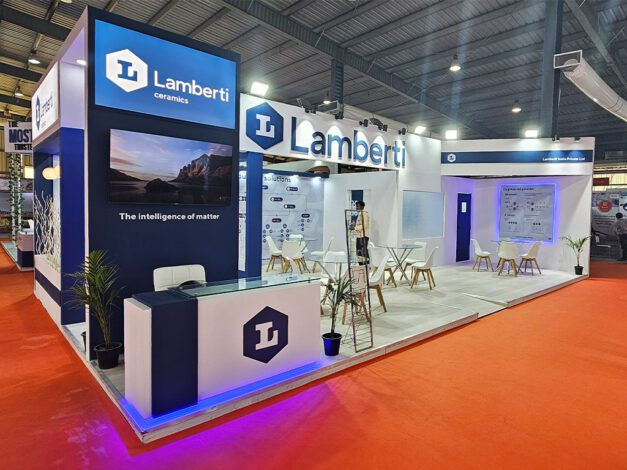
Europe.
A clean, professional approach: practical, well-organised, easy to navigate — balancing visual presentation with clear branding, comfortable meeting spaces, visitor movement, and an uncluttered appearance.
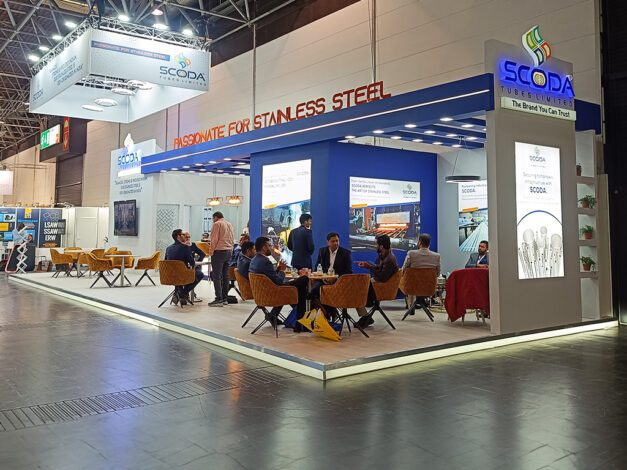
UAE & Middle East.
Larger branding areas, hospitality spaces, meeting rooms, product demonstrations, or prominent architectural elements — considered from the beginning, from a simple booth to a larger custom environment.
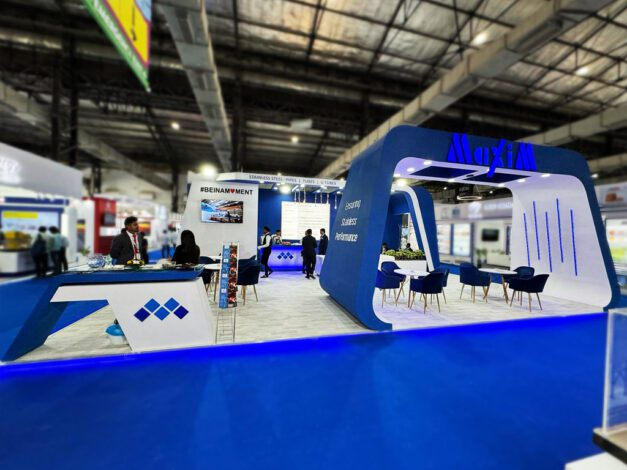
India & Thailand.
Understand the client’s requirements, understand the space, and create a practical design that represents the brand — so you can review the stand before production and communicate expectations clearly.
Review it. Adjust it. Then build it.
One of the most useful parts of a 3D design is the ability to review the project before it enters production. These changes are much easier to discuss at the design stage than after fabrication has started.
Every change is discussed on screen — before a single panel is produced.
Seven steps from brief to fabrication.
Understand your requirements
Exhibition, stand size, brand, products, services, and objectives.
Review the available space
Dimensions and practical requirements of your area.
Develop the concept
A 3D design based on your requirements and brand.
Review the visualisation
Layout, materials, graphics, furniture, and more.
Make adjustments
We discuss feedback and make the required changes.
Finalise the design
Prepared for the next stage once everything is agreed.
Move towards fabrication
The approved concept becomes the production reference.
It gives you the opportunity to see your ideas come together, discuss the details, make informed changes, and move towards fabrication with a clearer understanding of the final result.
Real Results from Real Clients.
Hear how businesses describe their journey with us
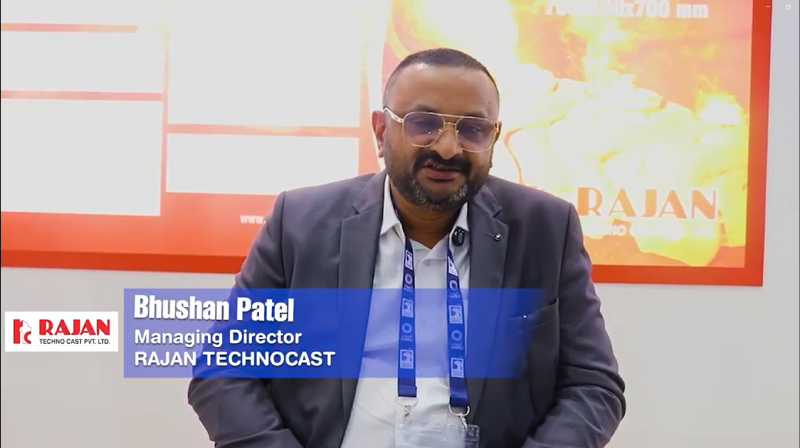
Bhushan Patel
Managing Director, Rajan Technocast
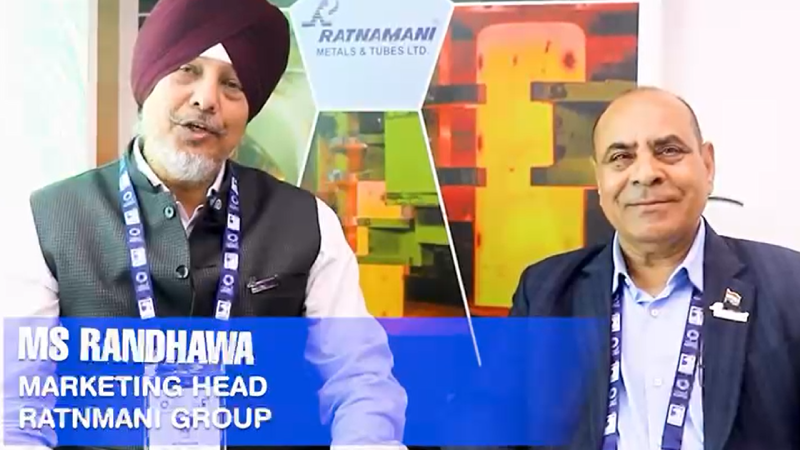
MS Randhawa
Marketing Head, Ratnmani Group
Aurexia Studio
Solaris Business Hub,
Oppo. The National Higher Secondary School,
Ahmedabad- 380013, Gujarat, INDIA
Contact
+91 90999 51517, +91 99091 11933
Poland Office :
Warsaw, Poland (Europe)
Contact
Contact Us.
Please fill in the details and we will be in touch shortly or send us email or Call us